

Hey there! As a supplier of UV Printing And Cutting Machines, I often get asked about how to set up the cutting path on these nifty machines. It might seem a bit daunting at first, but once you get the hang of it, it's a breeze. In this blog, I'm going to walk you through the whole process step by step.
Understanding Your UV Printing And Cutting Machine
First things first, let's talk a bit about the UV Printing And Cutting Machine. These machines are pretty amazing. They can print high - quality images on a variety of materials, and then cut them out precisely according to the design. Whether you're working on small promotional items or large - scale signage, this machine can handle it all.
The heart of setting up the cutting path is having a clear understanding of the machine's capabilities and the software it uses. Most UV printing and cutting machines come with their own proprietary software that's user - friendly and intuitive.
Step 1: Prepare Your Design
Before you even think about the cutting path, you need to have a well - designed file ready. Use graphic design software like Adobe Illustrator or CorelDRAW to create your design. Make sure all the elements are properly aligned and sized according to your needs.
When you're designing, it's crucial to separate the printing area from the cutting area. You can do this by creating different layers for print and cut. For example, put all the text and images you want to print on one layer, and the cutting lines on another. This makes it easier to manage and adjust later on.
Step 2: Import Your Design into the Machine's Software
Once your design is ready, it's time to import it into the software that comes with your UV Printing And Cutting Machine. Usually, the software can support common file formats like SVG, DXF, and AI. Just follow the import instructions, and your design should appear on the software's workspace.
Step 3: Identify the Cutting Lines
In the software, you'll need to make sure the cutting lines are clearly defined. Go to the layer where you placed the cutting lines in your design. If your software has a feature to set different colors for different functions, assign a specific color to the cutting lines. This way, the machine knows exactly which lines to follow when it comes to cutting.
Step 4: Set the Cutting Parameters
This is where the real magic happens. You need to set the right cutting parameters for your specific material. The two main parameters you'll be adjusting are the cutting speed and the cutting pressure.
- Cutting Speed: This refers to how fast the cutting blade moves along the cutting path. If you set the speed too high, the blade might not cut through the material properly. On the other hand, if it's too slow, it can waste time and potentially damage the material. You'll need to do some trial and error based on the type of material you're using. For example, a thin vinyl sheet might require a higher speed, while a thick cardboard sheet will need a slower speed.
- Cutting Pressure: This is the amount of force the blade applies to the material. Again, it depends on the material. A soft material like fabric will need less pressure, while a hard material like acrylic will need more. The machine's software usually has a pressure adjustment slider that you can play around with.
Step 5: Test the Cutting Path
Before you start a full - scale production run, it's always a good idea to do a test cut. Select a small, scrap piece of the same material you'll be using for your project. Run the test cut and see how it goes. Check if the blade cuts through the material cleanly and if the cutting path matches your design.
If the test cut doesn't go as planned, don't worry. You can go back and adjust the cutting parameters. Maybe the speed was too high, or the pressure was too low. Make the necessary changes and do another test cut until you're satisfied with the results.
Step 6: Finalize and Start the Cutting
Once you're happy with the test cut, it's time to finalize the cutting path and start the actual production. Make sure your material is properly loaded onto the machine's cutting bed. Double - check that the alignment is correct, so the printed image and the cutting path match up perfectly.
Then, just hit the start button on the machine's control panel or in the software. Sit back and watch as your UV Printing And Cutting Machine works its magic. It'll print your design and then cut it out with precision, leaving you with professional - looking finished products.
Other Considerations
When setting up the cutting path, there are also a few other things to keep in mind:
- Blade Selection: Different materials require different types of blades. Make sure you're using the right blade for your material. Some machines come with a range of blades, or you can purchase additional ones if needed.
- Maintenance: Regularly maintain your UV Printing And Cutting Machine. Keep the cutting blade clean and sharp, and make sure all the moving parts are well - lubricated. This will ensure smooth operation and accurate cutting.
Related Machines
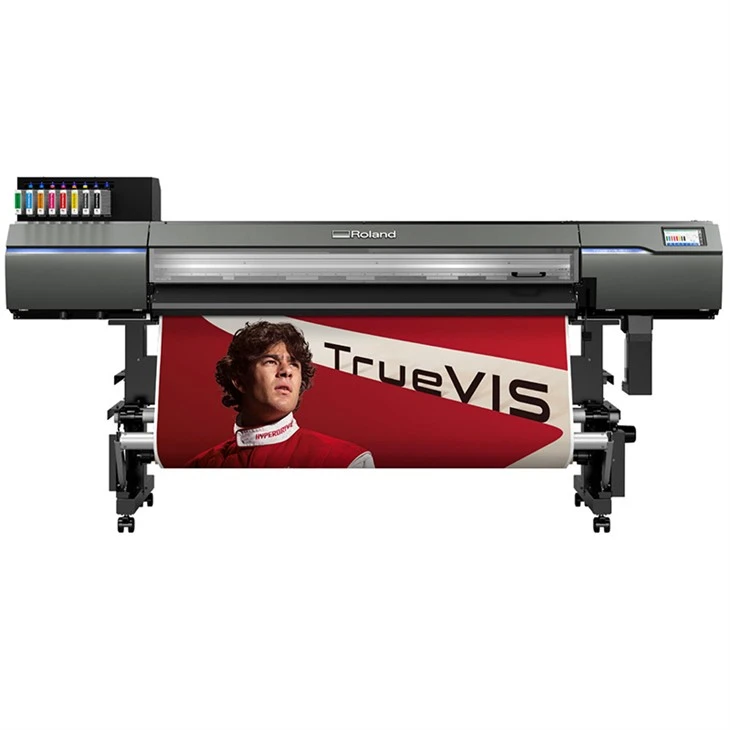
If you're interested in other types of printers and cutters, we also offer a range of related machines. The Roland Printer Cutter is a great option for those who need a versatile machine that can handle both printing and cutting tasks. It's known for its high - quality output and reliability.
The Large - format Eco - solvent Printer is perfect for large - scale printing projects. It uses eco - solvent ink, which is more environmentally friendly and produces vibrant, long - lasting prints.
The Roland Flatbed Printer is designed for printing on flat surfaces. It can handle a variety of materials, from wood to glass, and is ideal for creating custom - made products.
And if you're looking for an eco - friendly option for general printing, the Eco - solvent Inkjet Printer is worth considering. It offers high - resolution printing with the added benefit of using eco - solvent ink.
Conclusion
Setting up the cutting path on a UV Printing And Cutting Machine might seem like a complex task, but it's really just a matter of following the steps and doing some trial and error. By understanding your machine, preparing your design properly, setting the right parameters, and doing a test cut, you can achieve accurate and professional - looking results.

If you're in the market for a UV Printing And Cutting Machine or any of our other related products, don't hesitate to reach out. We're here to help you find the perfect machine for your needs and provide you with all the support you need to get started. Contact us today to start a discussion about your procurement needs.
References
- General knowledge from years of experience in the UV Printing And Cutting Machine industry.
- Manufacturer's manuals and guides for UV Printing And Cutting Machines.